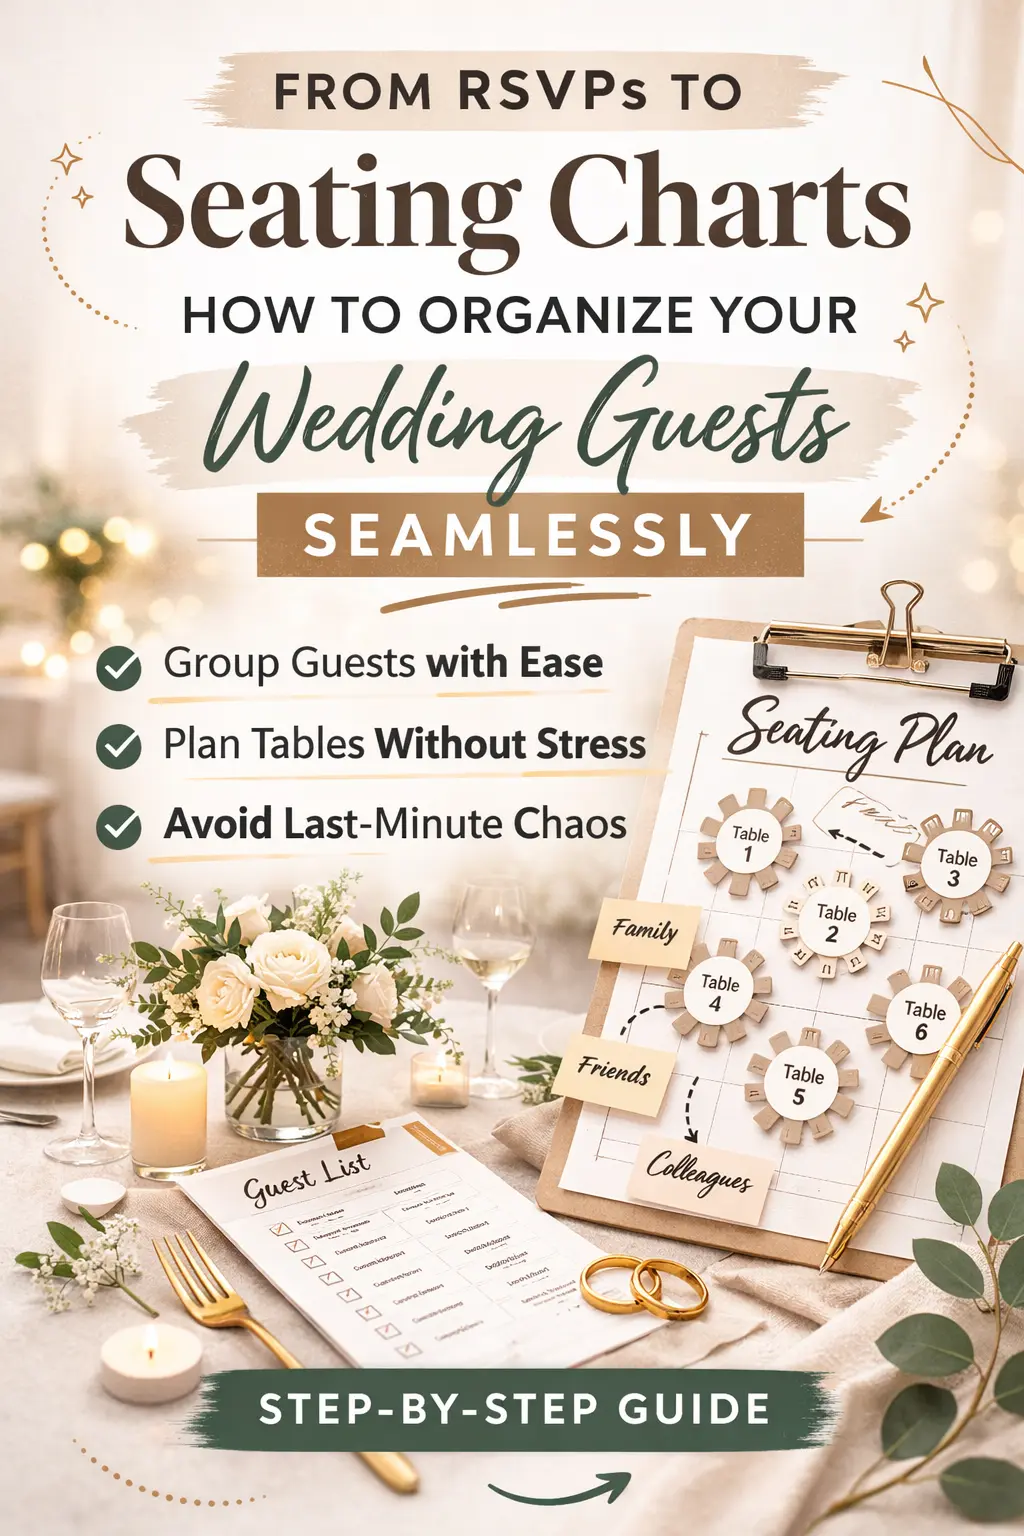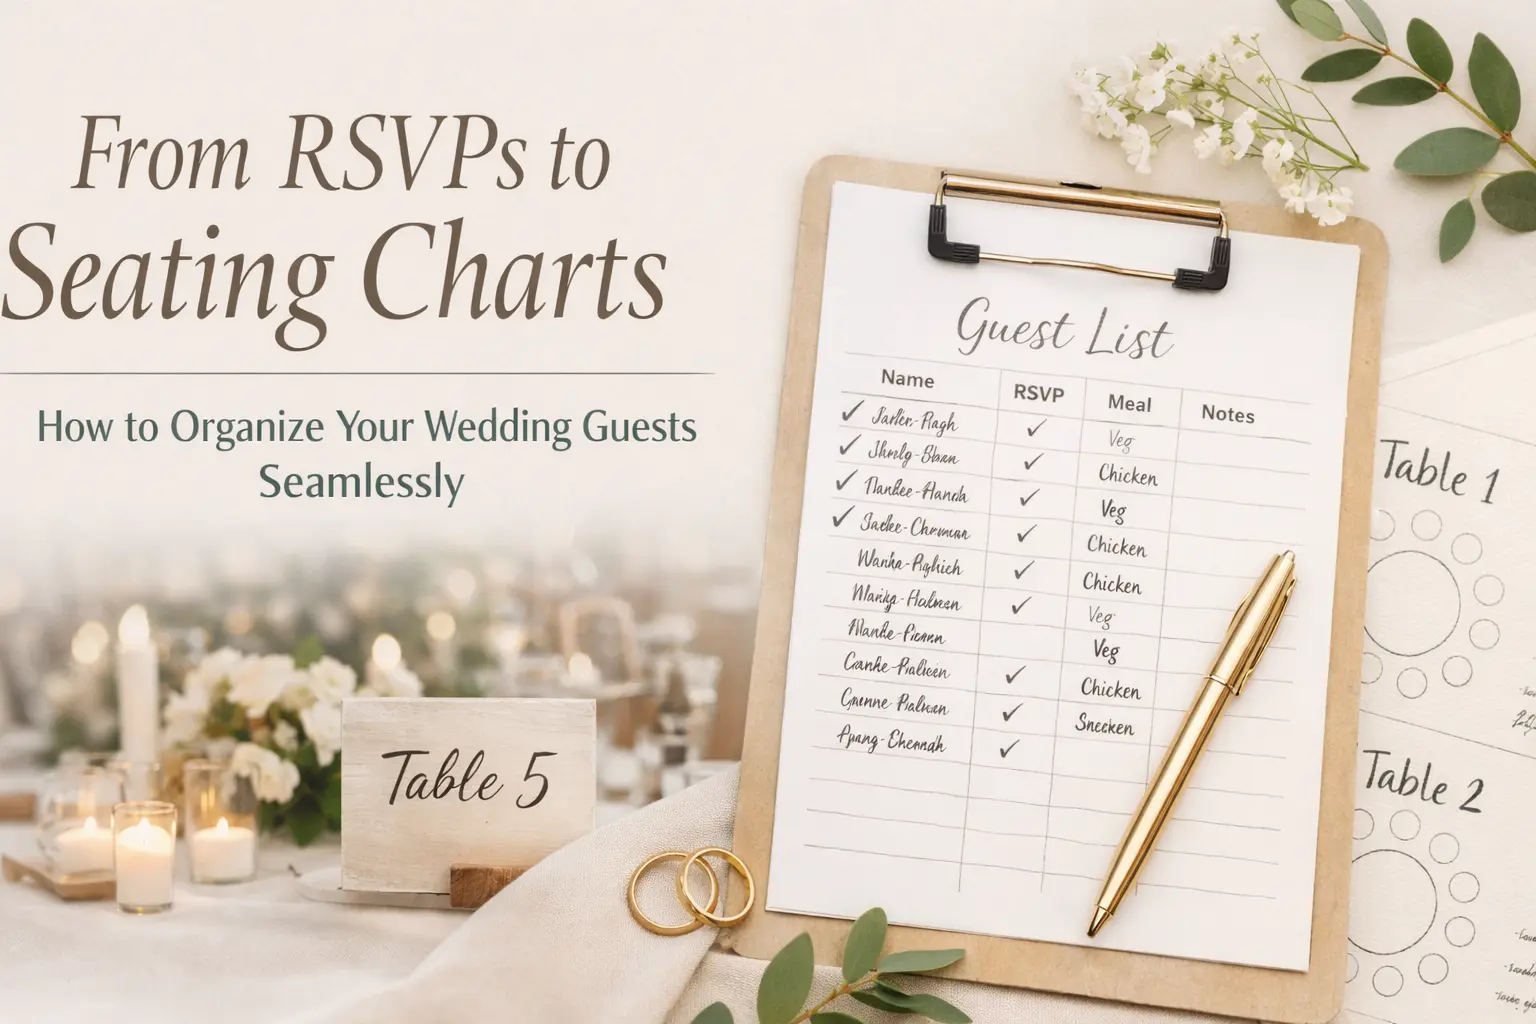
From RSVPs to Seating Charts: How to Organize Your Wedding Guests Seamlessly
Managing your wedding guest list doesn’t stop at collecting RSVPs. One of the most overlooked (and stressful) parts of planning is turning those responses into a clear, thoughtful seating plan that actually works on the day.
The good news? When your wedding website is set up properly, it becomes your control center—from tracking guest responses to organizing tables and reducing last-minute chaos. This guide walks you through exactly how to go from RSVPs to a seamless seating chart, without overwhelm.
Why Guest Management Matters More Than You Think
Your seating plan isn’t just logistics—it shapes your guests’ entire experience. The right setup creates flow, comfort, and connection. The wrong one leads to confusion, awkward tables, and constant questions.
- Clarity: Guests know where to be and when.
- Comfort: Thoughtful groupings reduce social stress.
- Confidence: You feel in control instead of reactive.
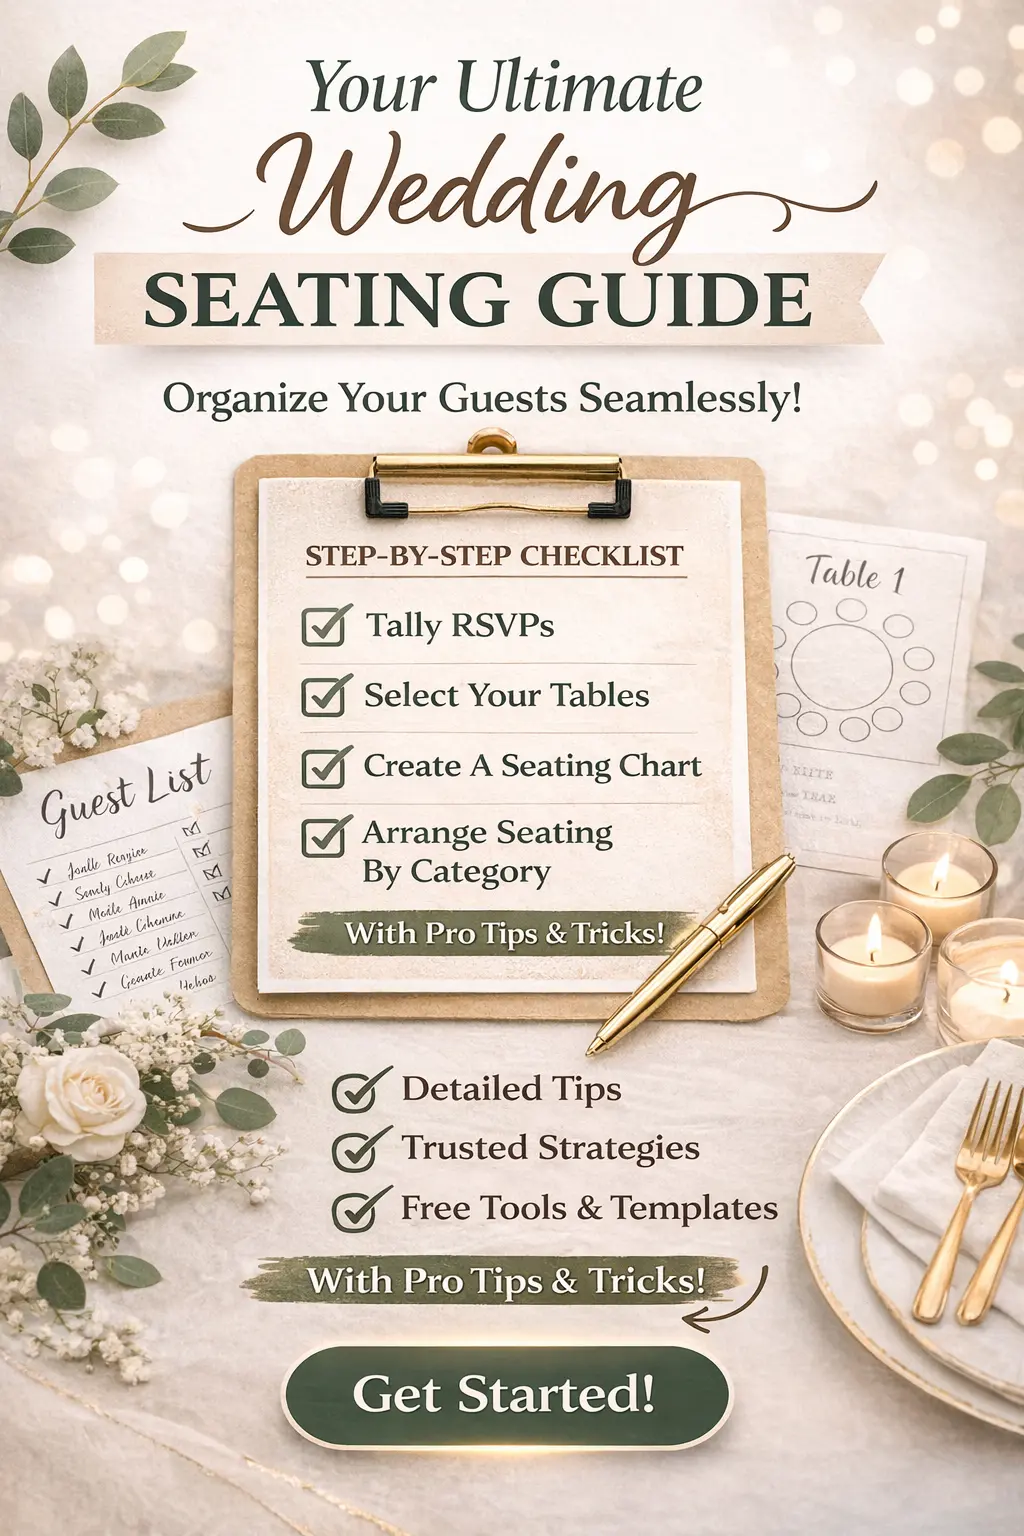
Step 1: Start with Clean, Intent-Based RSVPs
Your seating chart is only as good as your RSVP data. Instead of collecting just “yes” or “no,” gather the details you’ll actually need later.
- Full names of each attending guest
- Plus-one names (not just “+1”)
- Meal selections or dietary restrictions
- Event-specific attendance (welcome dinner, brunch, etc.)
If you haven’t optimized this yet, revisit Digital RSVPs That Work in 2025 to refine your setup.
Step 2: Group Guests Before You Assign Tables
Before you even think about table numbers, organize your guests into natural groups. This makes the actual seating process faster and far less stressful.
- Family (immediate and extended)
- Friends (by shared history or location)
- Work colleagues
- Mixed groups for social balance
This step helps you avoid the common mistake of assigning seats too early without context.
Step 3: Define Your Table Strategy
Not all seating plans are created equal. Choose a structure that fits your venue and guest dynamics.
- Round tables: Great for conversation and balance
- Long tables: Ideal for communal, relaxed settings
- Head table vs sweetheart table: Decide your level of visibility and intimacy
Once you know your table sizes, you can start matching guest groups to available seats.
Step 4: Use Your Wedding Website as the Source of Truth
Your website should reduce—not create—questions. Instead of sending separate messages or spreadsheets, centralize key guest information in one place.
- Confirm RSVP status and updates
- Share schedule details clearly
- Answer common guest questions in your FAQ
If guests are still confused, revisit How to Share Wedding Info with Guests to simplify your communication.
Step 5: Assign Tables (Not Seats) First
Start broad. Assign guests to tables before worrying about exact seats—this keeps things flexible and easier to adjust.
- Keep close relationships together
- Balance personalities and energy levels
- Avoid isolating guests who don’t know anyone
Only assign specific seats if your venue or catering requires it.
Step 6: Plan for Last-Minute Changes
No matter how organized you are, your guest list will change. Build flexibility into your plan from the beginning.
- Expect a few late RSVPs or dropouts
- Keep 1–2 buffer seats per table if possible
- Have a simple system to update your chart quickly
Your website helps here too—keeping everything updated in one place reduces confusion when plans shift.
Step 7: Make It Easy for Guests on the Day
Your beautifully planned seating chart only works if guests can actually understand it.
- Use clear signage at the entrance
- Organize alphabetically or by table number
- Ensure names match exactly what guests recognize
For multi-event weddings, align your seating with your Wedding Website Timeline so guests always know what’s next.
Common Seating Mistakes to Avoid
- Waiting too long: Seating always takes longer than expected
- Ignoring guest dynamics: Not all groups mix well
- Overcomplicating: Simple, thoughtful grouping beats perfection
- Not updating guests: Outdated info creates confusion
You can avoid many of these by reviewing Common Wedding Website Mistakes before finalizing your setup.
Pro Tips for a Smooth Guest Experience
- Think like a guest: Would you feel comfortable at this table?
- Keep communication consistent: Website = single source of truth
- Prioritize clarity over creativity: Easy always wins
- Start early: Give yourself time to adjust
How Weddnesday Helps You Stay Organized
Weddnesday makes it easier to manage your guest list, track RSVPs, and keep all your wedding details in one place—so your seating plan becomes a natural next step, not a stressful task.
Start with the Wedding Website Checklist, refine your guest flow with What Guests Expect in 2026, and build a clear communication system your guests will actually follow.
FAQ
When should I create my seating chart?
Start once most RSVPs are in—typically 4–6 weeks before your wedding. Finalize it about 1–2 weeks before the event.
Do I need assigned seats or just tables?
Most weddings only require table assignments. Assigned seats are helpful for formal dining or complex meal service.
What if guests cancel last minute?
Have a flexible plan with buffer seats and be ready to adjust a few tables. Keep it simple.
How can I avoid awkward tables?
Group guests by shared connections, not just convenience. Balance familiarity with a bit of mix for energy.
Save These Guides for Later
Digital RSVP Guide
Guest Communication Guide
Wedding Website Timeline
Stay Connected
Follow Weddnesday for weekly planning tips, guest experience strategies, and modern wedding ideas:
Pinterest | Instagram | Facebook | LinkedIn
Save This on Pinterest